| English / Deutsch | Print version |
| Prev PBM6 - BIOS/Legacy |
Table of Contents | Next Development Blog |
PBM6 - EFI
The Plop Boot Manager Six (PBM6) is a new boot manager. It is still a test release, so be careful. Find more information in the Development Blog.
This page is about the EFI version. See previous page for BIOS/Legacy.
Important: Secure Boot must be disabled to use PBM6-EFI. But thats a security risk. Its up to you to disable Secure Boot.
| 1. Download |
| 2. Screenshots |
| 3. Main Menu and Instructions |
| 4. Config file |
| 5. Install example |
| 6. Todo |
1. Download
Donations are rare and welcome: Donate
pbm6-efi-20230206.zip LICENCE.txt
pbm6-efi-20230125.zip
pbm6-efi-20221104.zip
pbm6-efi-20221011.zip
2. Screenshots
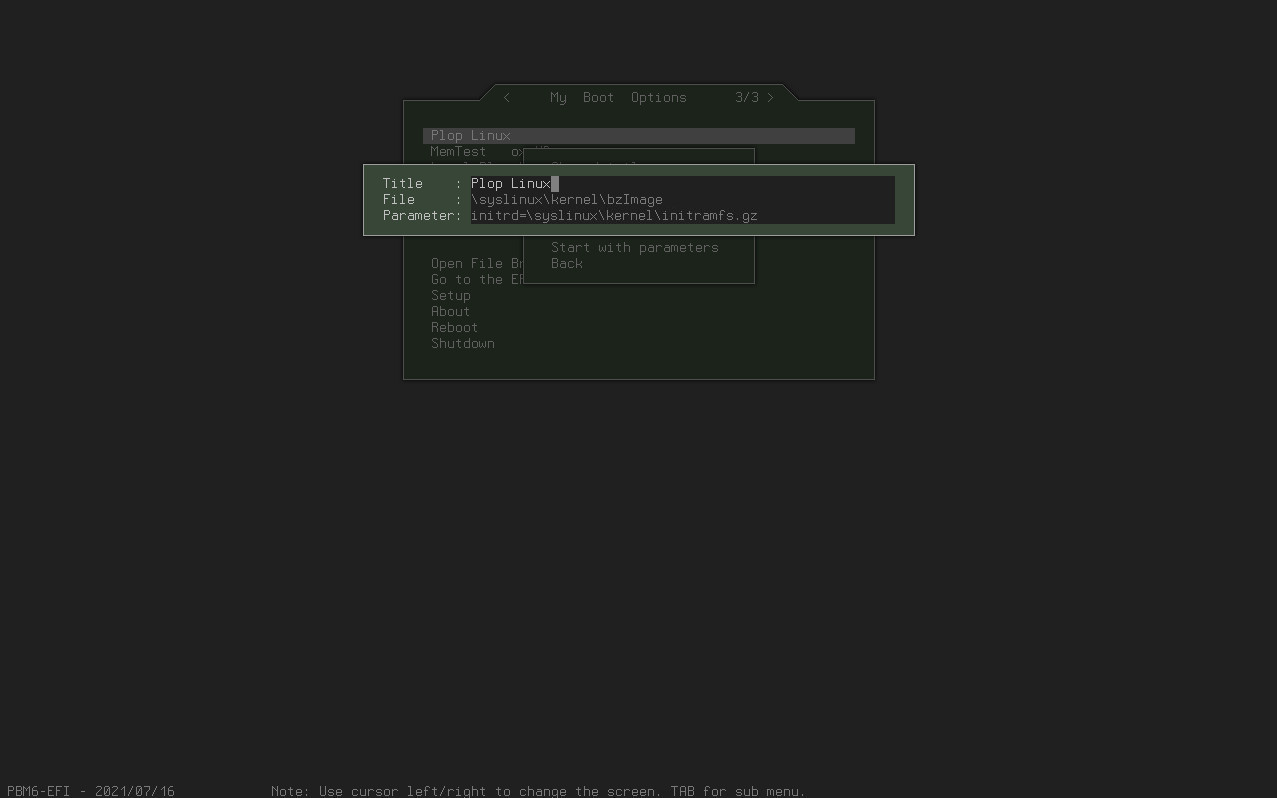
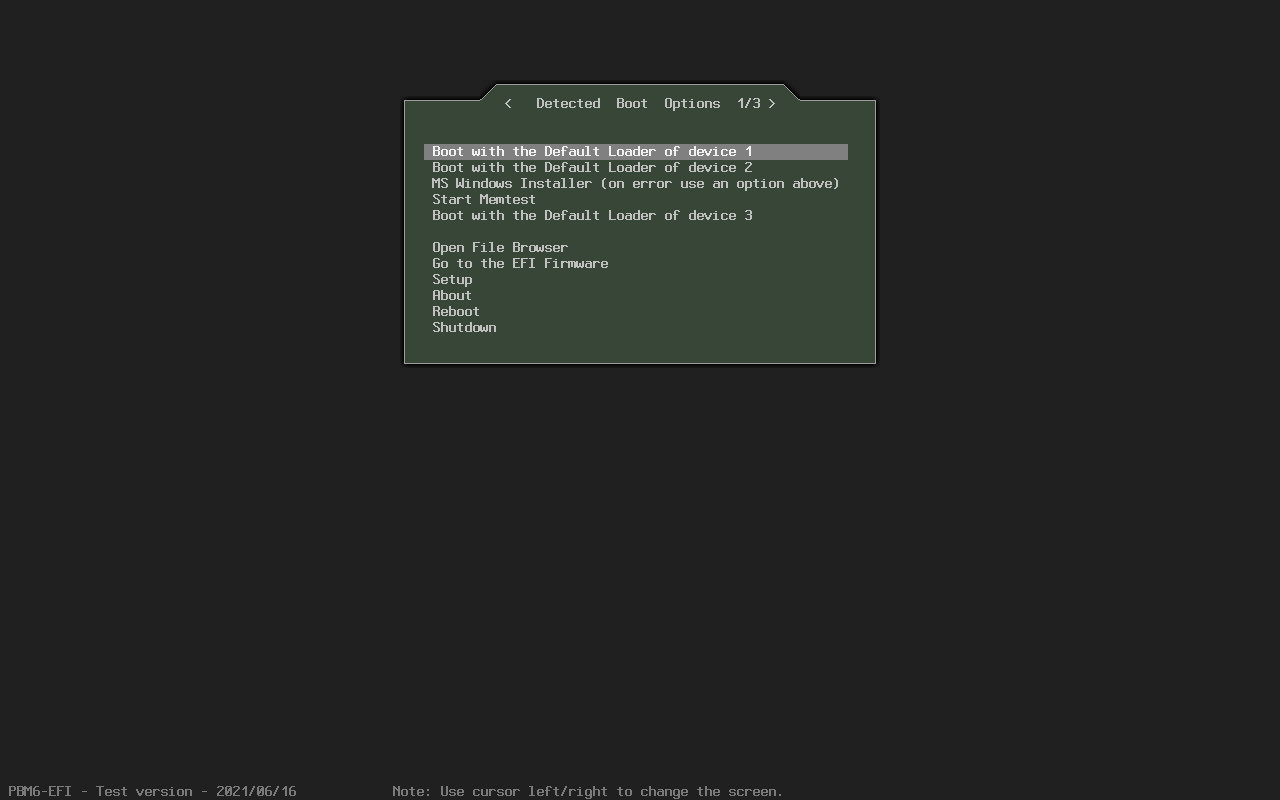
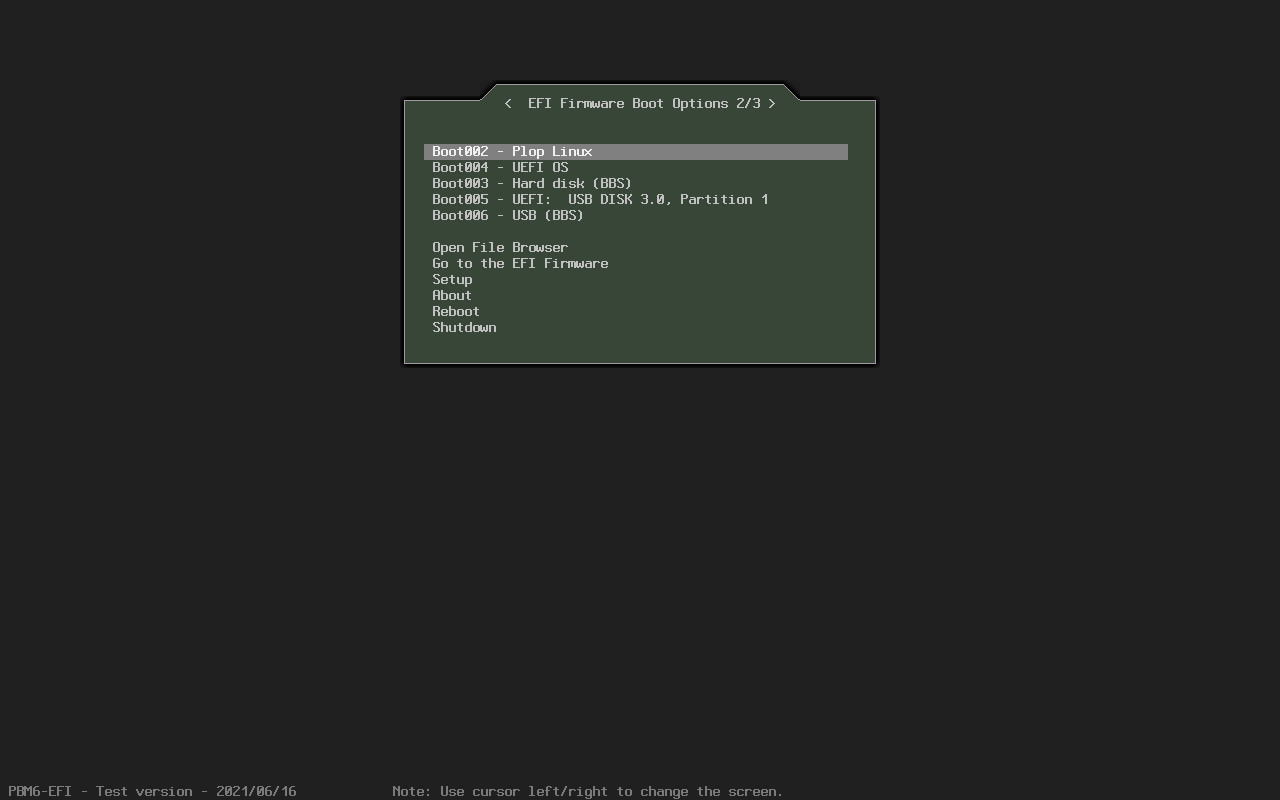
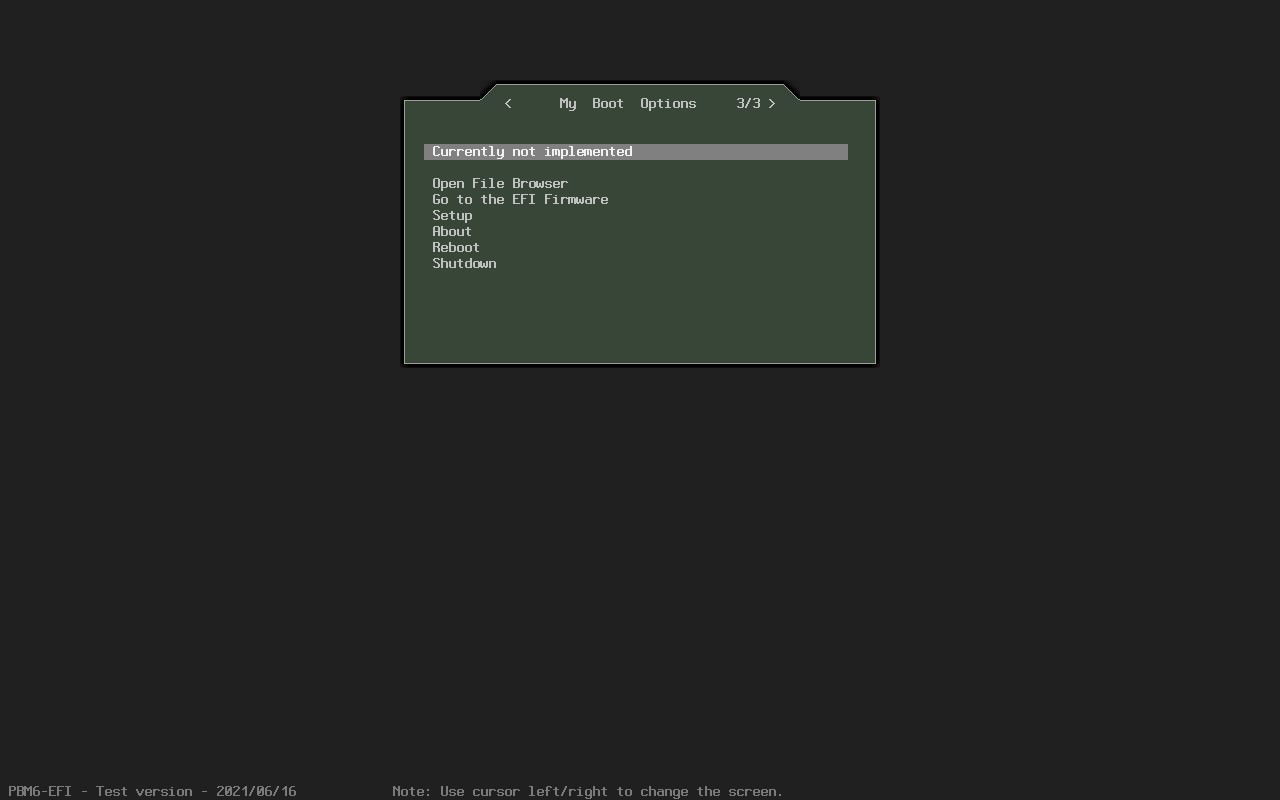
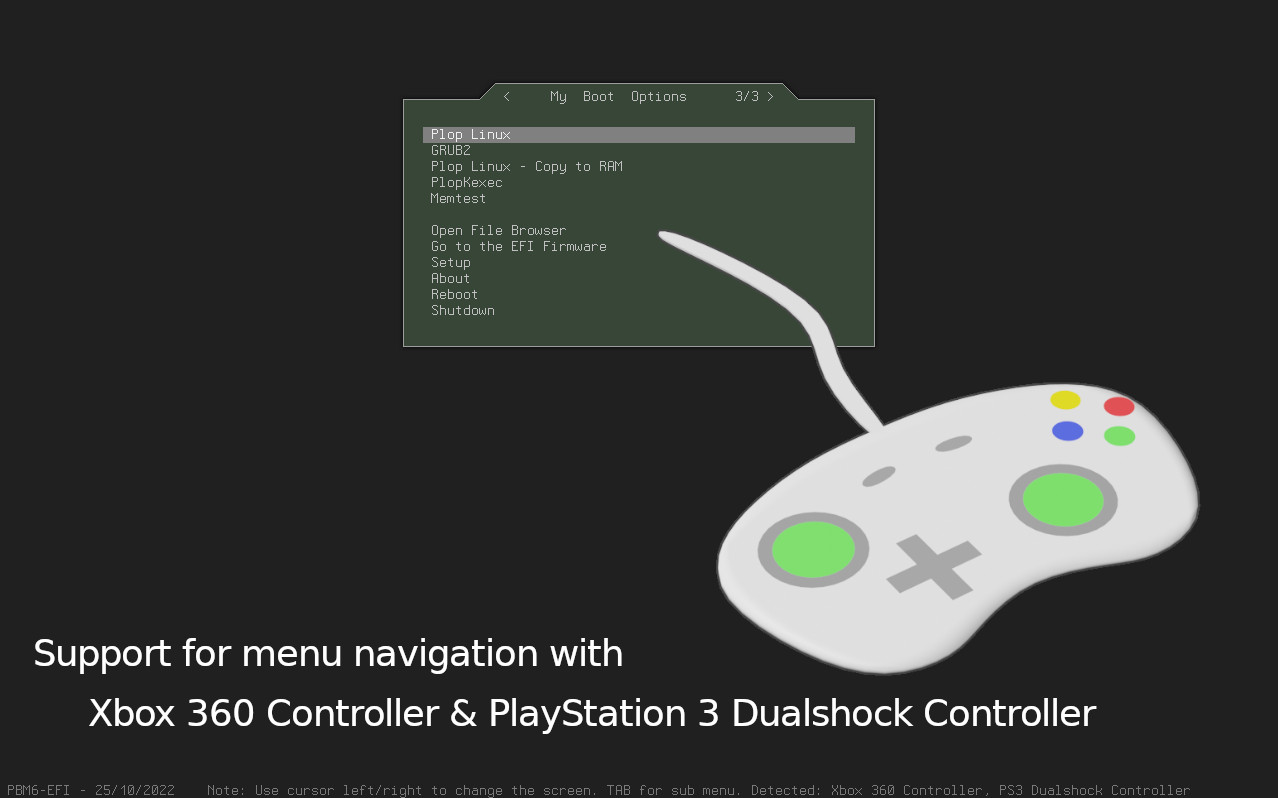
3. Main Menu and Instructions
The boot manager is under development. More and better instructions coming soon.
Important: Secure Boot must be disabled to use PBM6-EFI. But thats a security risk. Its up to you to disable Secure Boot.
In the main menu use the left/right keys to change the screen. On the boot option use the Tabulator key or 'e' to open the sub-menu for more options.
How to start PBM6-EFI:
-
Directory: EFI
This is the EFI default directory structure to boot with EFI. Use uppercase on ISO.
\EFI\BOOT\BOOTx64.EFIHard disk/USB: Copy this directory to a FAT32 partition and boot from the device to start PBM6-EFI.
CDROM: Use this directory to start PBM6-EFI from CD/DVD.
-
pbm6-x64.efi:
This is the same file as bootx64.efi. You can use this file for example in the directory \efi\plop\ to use it as additional boot option.
Linux: Create a boot entry in the EFI firmware with
efibootmgr -c -d /dev/sda -p 1 -L "PBM6" -l "\efi\plop\pbm6-x64.efi" -
pbm6.iso:
This is an ISO Image for CD/DVD to start PBM6-EFI from CD/DVD.
4. Config file
Download sample: pbm6.cfg
# Test configuration
#
# Note: All is case sensitive at the moment.
#
# Paths:
# \efi\plop\pbm6.cfg
# or
# \efi\boot\pbm6.cfg


[Main]

# Countdown - Wait for booting with a countdown.
# This can be used also with StartHidden.
# Valid values: true, false
# Default: false
#Countdown false
Countdown false


# CountdownValue - Wait number of seconds to boot.
# Default: 10
#CountdownValue 10


# LastBootedOption - This will be set by the boot manager. It can be overwritten by
# Third Party Software.
#
# Examples:
#   LastBootedOption "Firmware/Boot0001"
#   LastBootedOption "Detected/Start Memtest"
#   LastBootedOption "MyBootOptions/Boot0001"


# DefaultBoot - Selected on boot manager start.
# This can be used also with StartHidden.
# Valid values: LastBootedOption, entry title
#
# Examples:
#   DefaultBoot LastBootedOption
#   DefaultBoot "Plop Linux"
#   DefaultBoot "Boot00001"
#
# Limited to Firmware:
#   DefaultBoot Firmware/Boot0001
#
# Limited to options in [MyBootOptions]:
#   DefaultBoot MyBootOptions/Boot0001
#
# From boot drive:
#   DefaultBoot \efi\memtest.efi
#   DefaultBoot \efi\grub\grubx64.efi


# StartScreen - Active screen on boot manager start.
# Valid values: Firmware, Detected, MyBootOptions
# Default: When there are entries in [MyBootOptions] - MyBootOptions
#          Else - Detected
#StartScreen Detected


# StartHidden - Hide boot manager.
# Valid values: true, false
# Default: false
#StartHidden false


# UnhideOnDeviceChange - Used in combination with StartHidden. Unhide the
# boot manager when the stored device list is different to the current device
# list. For example, you connect an additional USB drive. This would unhide
# the boot manager. Without the additional drive, the boot manager is not
# shown while booting.
# Valid values: true, false
# Default: false
#UnhideOnDeviceChange false


# UnhideOnKey - Used in combination with StartHidden. Unhide the boot manager
# when a key has been pressed.
# This can be used also with a countdown/countdown value.
# Valid values: any, ESC, none
# Default: any
#UnhideOnKey any


# FontWeight - Select boot manager font weight.
# Valid values: normal, bold
# Default: normal
#FontWeight normal


# ScreenHeight - Find resolution closest to this value.
# If you set a value of 1000, then the boot manager scans all
# possible resolutions of your graphic card to find the closest
# screen resolution. It prefer wide screen resolutions.
# Depending on your graphic card it can end up for example in
# 1024x768 or 1280x1024.
# The default value of 768 will find usually a resolution
# of 1024x768.
# Default: 768
#ScreenHeight 768


# BootScreenHeight - Set screen resolution on boot.
# When the value is set, then the boot manager set the closest
# resolution to this value on booting.
# Default: disabled
#BootScreenHeight 768


# Background - Currently not implemented.
# Valid values: none, Starfield
#Background Starfield


[MyBootOptions]

# Syntax:
# "TITLE" "PATH"
# "TITLE" "PATH" "PARAMETERS"
# "PATH"
# Note: The quotes are optional but needed to keep a space.
#
# Examples:
#   Wrong: Output of efibootmgr, but is not compatible  "MemTest Vbox HD" HD(1,GPT,0a71dc5a-53b0-4a99-81b7-3c548adda764)/File(\efi\memtest.efi)
#   Wrong: Output of efibootmgr, but is not compatible  MemTest HD(1,GPT,591b2b2f-1f74-42d7-a55e-a5eec36b418b,0x800,0x96000)/\EFI\memtest.efi
#   Wrong: Output of efibootmgr, but is not compatible  "Plop Linux" HD(1,GPT,591b2b2f-1f74-42d7-a55e-a5eec36b418b,0x800,0x96000)/\EFI\BOOT\bzImage "root=/dev/sda2"
#   Wrong: "\EFI\BOOT\bzImage root=/dev/sda2"
#
# Valid:
#"Plop Linux Live" \syslinux\kernel\bzImage initrd=\syslinux\kernel\initramfs.gz
#"MemTest" \efi\memtest.efi
#"Plop Linux SDA2" HD(1,GPT,0a71dc5a-53b0-4a99-81b7-3c548adda764)/\plop\bzImage  "root=/dev/sda2"

# Firmware boot entry.
#Boot0001

# Firmware boot entry with custom title.
#"firmware cdrom" Boot0001

# Simple entry without title
#HD(1,GPT,0a71dc5a-53b0-4a99-81b7-3c548adda764)/\efi\memtest.efi

# Simple entry without title.
#\efi\memtest.efi


[KnownDevices]
5. Install example
See installation example in the video Install Plop Linux - Desktop - UEFI.
6. Todo
- Better documentation/website.
- Mouse and touch screen support.
- Better BBS support.
- File browser. You will be able to select the boot program from the file system. This will be very useful for Linux. You can also add boot parameters to the kernel. And more...
- A help screen.
- Maybe more...
| Prev PBM6 - BIOS/Legacy |
Table of Contents | Next Development Blog |
© 2026 by
Elmar Hanlhofer