| English / Deutsch |
Teensy - DIY USB Protocol Analyzer, Packet modifier, USB wrapper, USB over LAN
Introduction
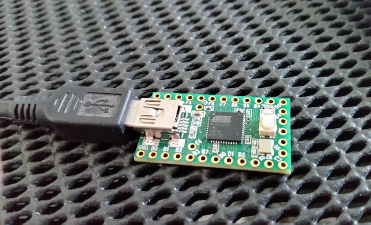
The Teensy is a wonderful small device with a lot of power and USB capability. See the official Website for more information.
I wrote a few programs to use the Teensy as dynamic USB device. The Teensy identifies itself as an USB device that is connected on another computer. All data is transferred through the Teensy. In this stage, its also possible to use the Teensy or the Raspberry Pi to analyze and modify the transmitted data and even send own data packets. The analyzer is more a spin off and a simple project. This page can be seen as educational information.
I wrote the program for the Teensy 2.0 and Teensy 3.2. There are two Teensy programs, one for Teensy 2.0 and one for Teensy 3.2. I had some data loss with the Teensy 2.0 and so I rewrote the whole program for the Teensy 3.2, which has a different processor architecture and more features. But later, I figured out, that the data loss came from the Raspberry Pi.
Meanwhile I prefer the Teensy 3.2, because it has more RAM, more I/O ports, a faster CPU and is easier to buy. The Teensy 2.0 seems to be sold out the most times.
The source codes of the programs are currently ugly and I have to clean up the code before I release it. But they work well and can be used as base for other projects. I tested them with various hardware. I tested it with USB gamepads/controllers and other HID devices. Mass storage devices should work too, but I test them later.
The programs are written in C and C++.
-- WARNING --
I don't take any responsibility about damaged hardware or any other things. Use the information that you read here at your own risk! Inform yourself from other sources too.
Various connection methods
The target computer is the computer, which has the Teensy connected through USB. The target computer will identify the Teensy as USB device which is connected on another computer and is called "source USB device" in the list below.
Note: You can use any computer that is able to act as USB host instead of the Raspberry Pi.
• Teensy 2.0 connected directly with a Raspberry Pi via LLC + UART
Target computer <- USB -> Teensy 2.0 <- UART via Logic Level Converter -> Raspberry Pi <- USB -> Source USB device• Teensy 2.0 connected via USB Serial Cable with a Raspberry Pi
Target computer <- USB -> Teensy 2.0 <- UART -> USB Serial Cable <- USB -> Raspberry Pi <- USB -> Source USB device
• Teensy 3.2 connected directly with a Raspberry Pi via UART
Target computer <- USB -> Teensy 3.2 <- UART -> Raspberry Pi <- USB -> Source USB device• Teensy 3.2 connected via USB Serial Cable with a Raspberry Pi
Target computer <- USB -> Teensy 3.2 <- UART -> USB Serial Cable <- USB -> Raspberry Pi <- USB -> Source USB device• Teensy 3.2 connected via second Teensy 3.2 over USB with a Raspberry Pi
Target computer <- USB -> Teensy 3.2 <- UART -> Teensy 3.2 <- USB -> Raspberry Pi <- USB -> Source USB device
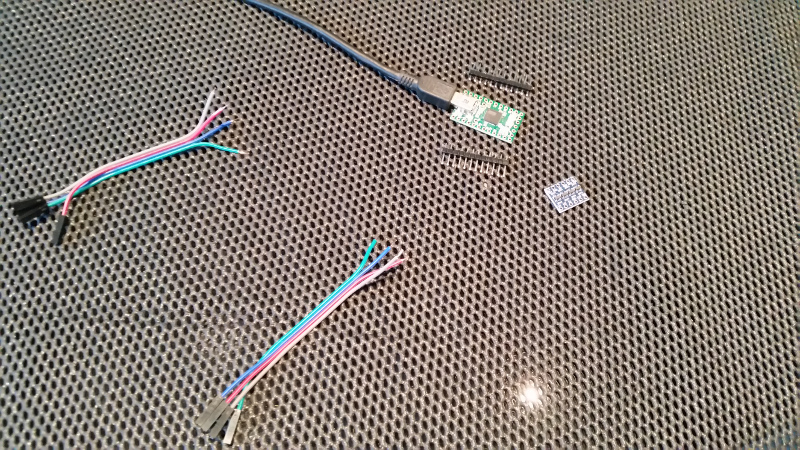
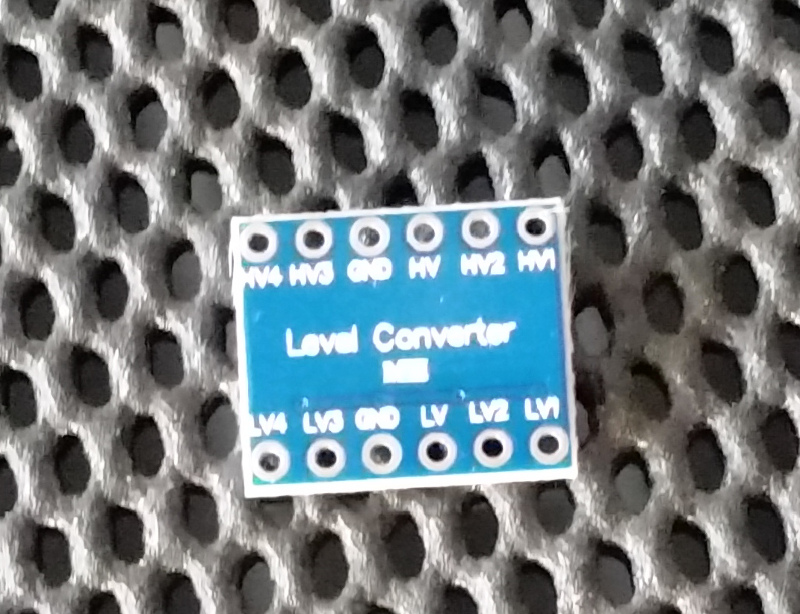
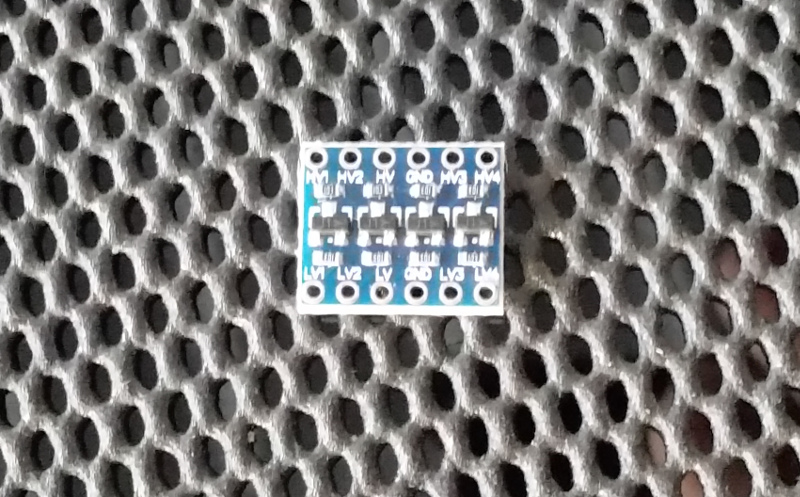
Teensy 2.0 connection methods
• UART connection Raspberry Pi
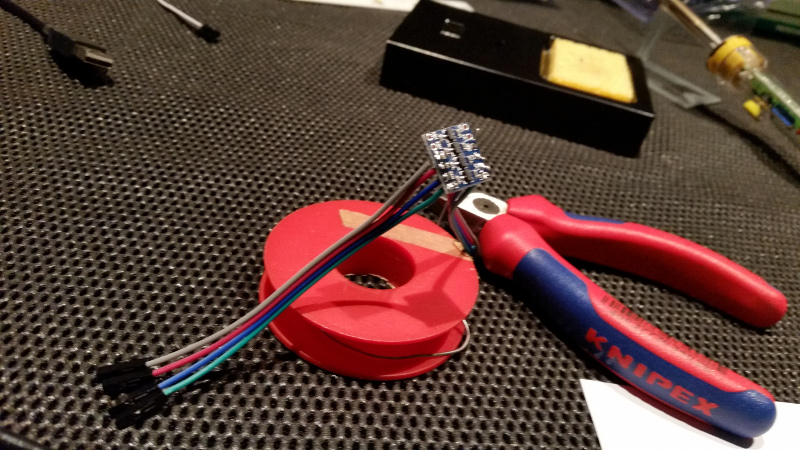
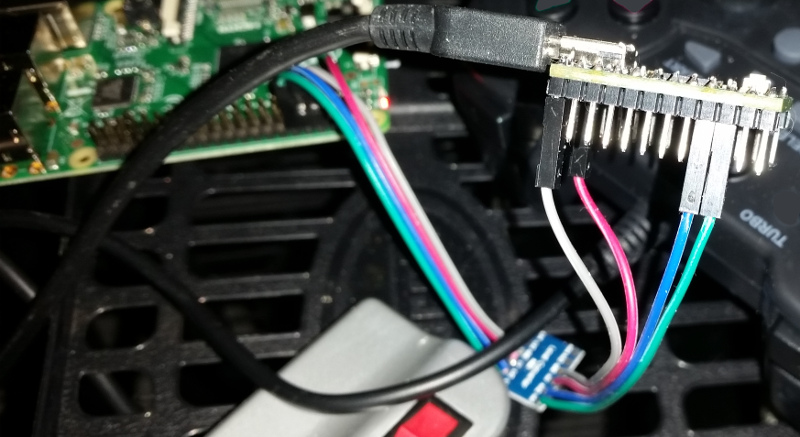
The Teensy 2.0 runs on 5V. So you need a Logic Level Converter (LLC) to connect the Teensy 2.0 directly to the UART of a Raspberry Pi, which has a logic level of 3.3V. Its quite easy to use a logic level converter. I bought a 4 Channel IIC I2C Logic Level Converter Bi-Directional Module 5V to 3.3V. You can use a 2 channel version too.
WARNING: When you don't use a LLC, then you damage your Raspberry Pi!
|
|
TODO: SOLDERING INSTRUCTIONS, MORE IMAGES

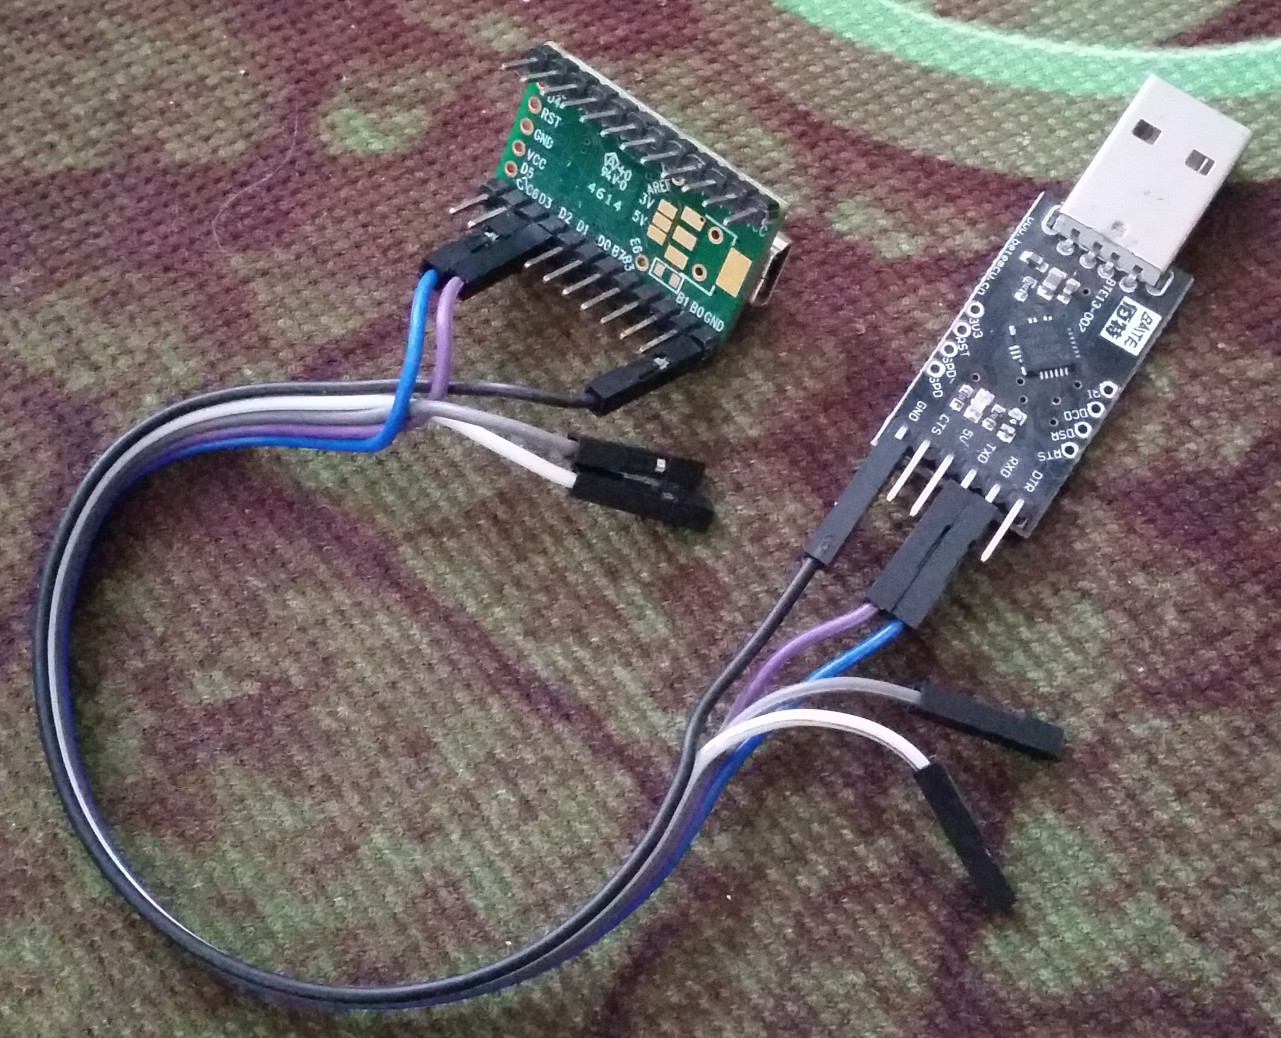
• USB Serial connection
You can connect the Teensy with a with the USB Serial Converter to any computer which has the source USB device connected. I bought a USB to TTL-converter-module with builtin CP2102 which is compatible to the Teensy 2.0 5V level. The connection with the Teensy 2.0 is simple. See the table.
| Teensy 2.0 | USB Serial Converter |
|---|---|
| GND | GND |
| RX Pin D2 | TX |
| TX Pin D3 | RX |
Teensy 3.0 connection methods
• UART connection Raspberry Pi
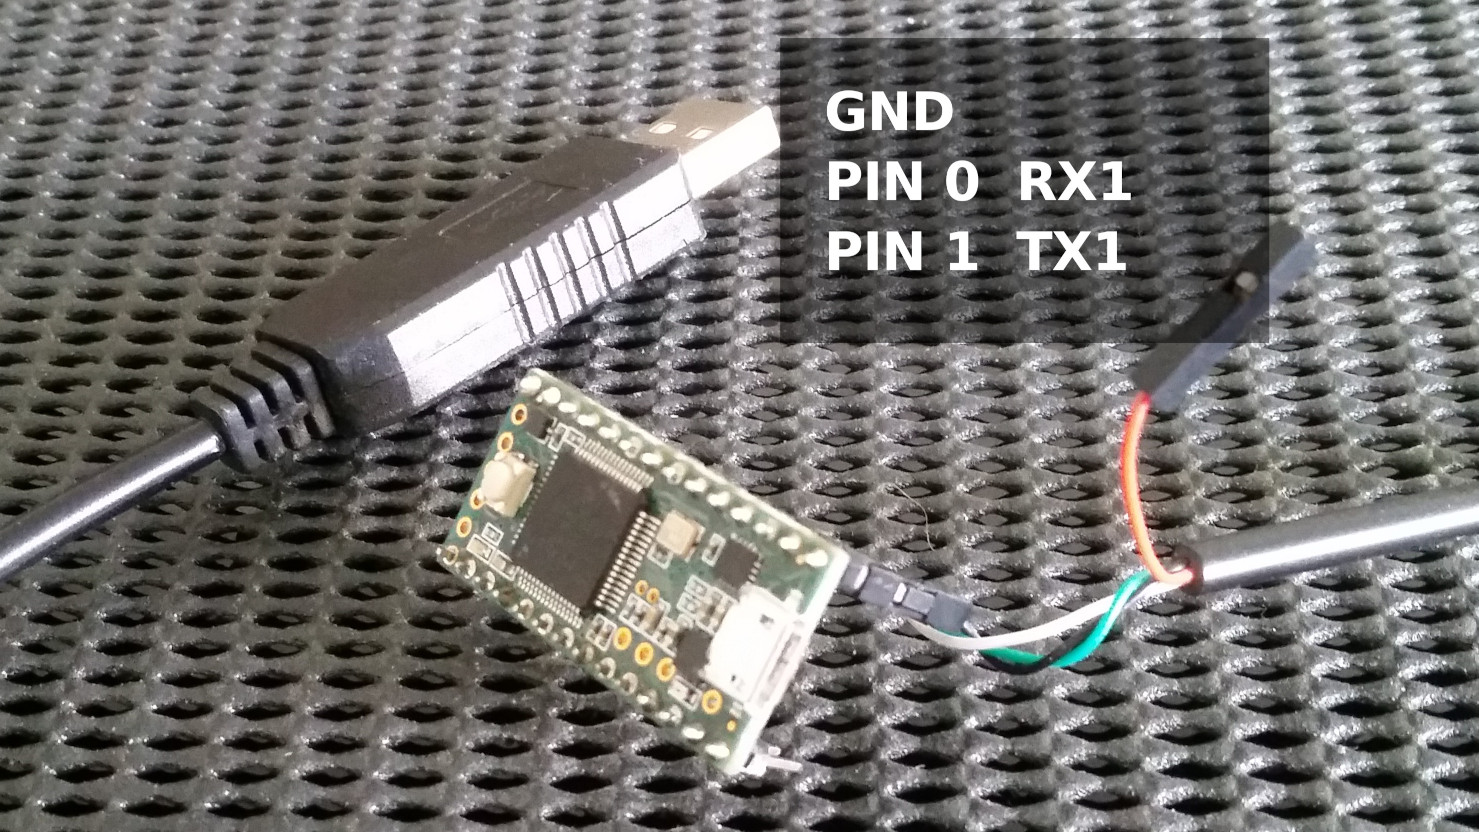
The Teensy 3.2 and the Raspberry Pi have the same logic level. You can connect them directly without logic level converter.
| Teensy 3.0 | Raspberry Pi |
|---|---|
| GND | Pin 6 - GND |
| Pin 0 - RX1 | Pin 8 - UART TXD |
| Pin 1 - TX1 | Pin 10 - UART RXD |
TODO: PHOTO
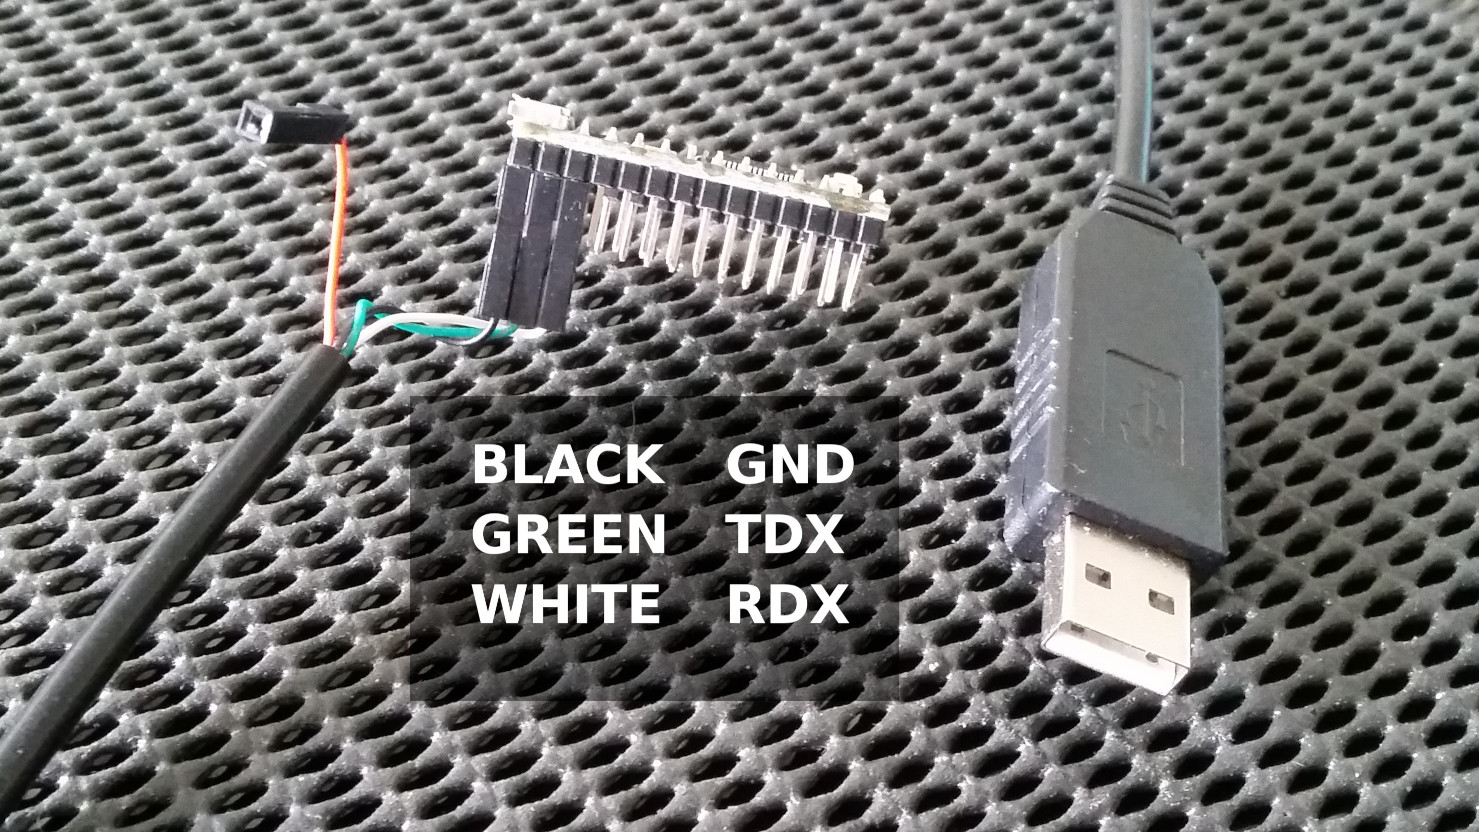
• UART USB Serial connection
You can connect the Teensy with a with the USB Serial Cable to any computer which has the source USB device connected. I bought the COM-FOUR PL2303HX USB to TTL RS232 COM Cable-Module Converter 1 meter.
|
|
• Second Teensy 3.2 USB connection
I used a second Teensy 3.2 to have more I/O pins and the second Teensy is used as USB Serial Device. Both Teensys are connected together with their Serial 1 port.
TODO: PHOTO
Flash the Teensy
The Teensy will be flashed over USB with the Teensy Loader. There is a GUI and a CLI version available. I prefer the CLI version. See Teensy Loader CLI/GUI for more information.
Source Codes
Coming soon...
© 2026 by
Elmar Hanlhofer